Article contents
You’ve probably encountered DHCP when setting up a router. But do you know about the dangers that improper configuration of it on a company server can pose? By exploiting it, an attacker can not only disable the DHCP server but also carry out a Man-in-the-Middle (MitM) attack to intercept important data. In this article, I will show two attack vectors on DHCP and give advice on how to ensure security.
WARNING
This article is for informational purposes and is intended for security specialists conducting testing within the framework of a contract.
The author and editorial staff are not responsible for any harm caused by the application of the information presented.
The distribution of malware, disruption of systems, and violation of correspondence confidentiality are punishable by law.
THEORY
When protecting a network from DHCP attacks, it’s crucial to understand the intricacies of how the DHCP server and client interact. For example, what is the relationship between the MAC address in the Ethernet header and the CHADDR field in the DHCP header? Or what messages are sent only by the DHCP server to the client, and not the other way around? Let’s break it down step by step. First, we’ll quickly go over the key DHCP messages and the structure of the DHCP header itself.
DHCP Messages
To obtain an IP address and other network parameters, the client and DHCP server only need to exchange four messages. A client configured to automatically receive an IP address sends a DHCPDISCOVER message to the broadcast addresses of the network (255.255.255.255) and the data link (FF:FF:FF:FF:FF:FF) layers to discover DHCP servers. In the IP header, the source IP address field of the IP packet is set to 0.0.0.0, as the client has not yet received this parameter. The source address field at the data link layer contains the MAC address of the client.

Upon receiving a DHCPDISCOVER message from a potential client, the DHCP server offers a free IP address. This message, addressed from the server to the client, is called DHCPOFFER. During the offer, the address is reserved by the DHCP server and is not offered to other clients.
Suppose the client has received a DHCPOFFER message from the DHCP server.
In that case, it sends a broadcast DHCPREQUEST message containing the IP address of the server that made the offer. This broadcast message informs other DHCP servers that the client has already accepted the offer from one of the servers. As a result, the remaining DHCP servers release the reserved IP addresses, and these addresses can be offered to other clients in the future.
When the server receives a DHCPREQUEST message, it specifies the IP address selected by the client in the DHCPACK message and sends it back to the client.
The client has received all the necessary network parameters, and at this point, the interaction process is considered complete. However, in addition to these four main messages, there are a couple of important ones:
DHCPNACK— a message sent from the server to the client to notify about the denial of the IP address lease.
DHCPRELEASE— a message from the client to the server, notifying the server that the client no longer wishes to use the current IP address, and the server can “return” this address to the pool of available IP addresses.
We’ve covered the main messages. Now, let’s summarize briefly: messages like DHCPOFFER, DHCPACK, and DHCPNAK are sent only by the server to the client. Let’s remember this. This information will come in handy a bit later.
DHCP Header Structure
Now, let’s briefly discuss the DHCP header, which is encapsulated in UDP datagrams. By the way, I forgot to mention the transport layer: in the case of DHCP, the server and client use UDP ports 67 and 68, respectively.

Let’s go through the most interesting fields of the header for us:
Op Code— a field that indicates the type of message. If the request is from the client to the server, this field is set to 0x01, and for a reply, it is set to 0x02.htype— the type of address used at the data link layer. For Ethernet, this field is set to 0x01.hlen— indicates the length of the data link layer address in bytes (0x06 for Ethernet).xid— a transaction identifier used to match requests and responses between them.sec— represents the time in seconds that has passed since the client started receiving or renewing the IP address.CIADDR— the client’s IP address. This field is filled in if the client already has an IP address and needs to renew its lease.SIADDR— the IP address of the DHCP server, used when sending the response messages DHCPOFFER and DHCPACK to the client.GIADDR— the IP address of the relay agent (router) that bridges the networks where the client and the DHCP server are located.CHADDR— a field that specifies the client’s MAC address. We pay special attention to this field.Option— a variable-length field that specifies additional parameters (such as subnet mask, DNS server addresses, default gateway address, lease time).
I think everything is clear here. Now, let’s talk about the CHADDR field, which I emphasized earlier. It is logical to assume that the value in the CHADDR field of the DHCP header and the source MAC address in the Ethernet header (for messages from the client to the server) will be identical.

Under normal interaction between the client and the server, this is indeed the case. Let’s keep that in mind and move on to the practical part.
TESTING DHCP FOR STABILITY
Laboratory Setup
I have gathered everything that was available:
- Cisco 2821 Router
- Cisco Catalyst 2960 Switch
- Client PC with Kali Linux

I started the DHCP on the router, issuing addresses from the pool 192.168.1.2–254. The switch is configured with a default, empty configuration, as it came “out of the box.”
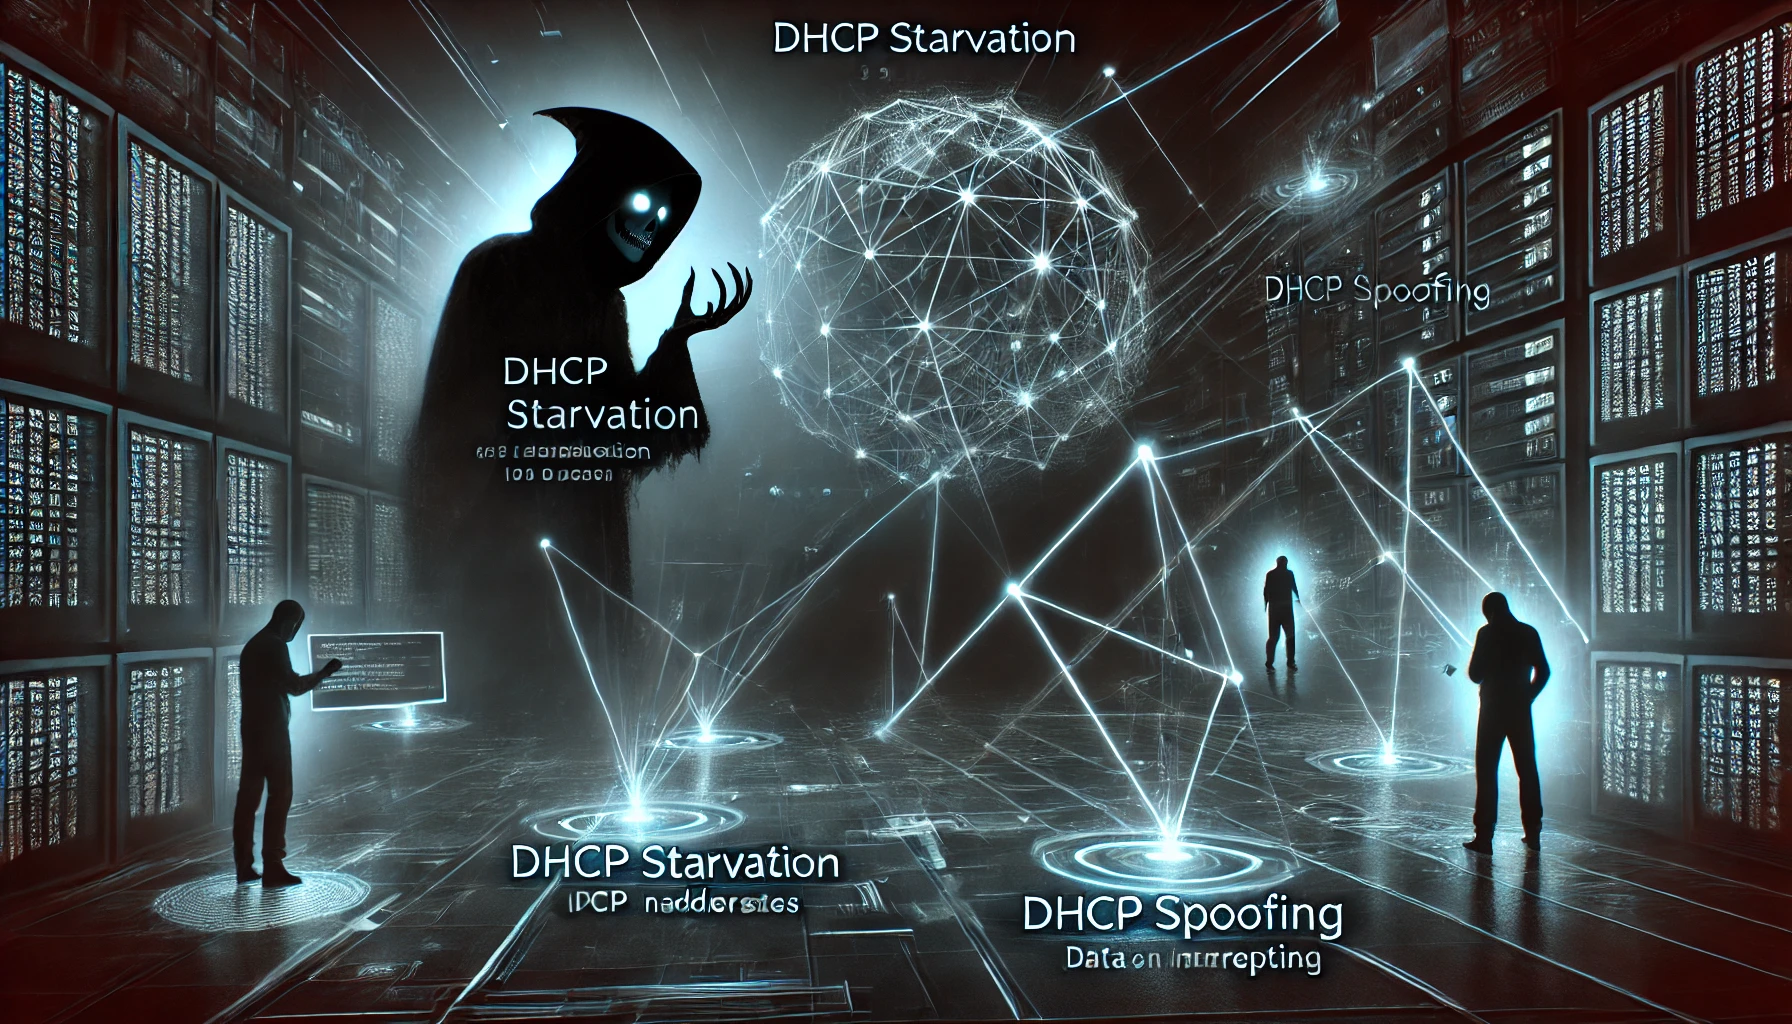
DHCP STARVATION
Before carrying out the DHCP Starvation attack, let’s do a quick review. We know that the DHCP server maintains a table mapping the issued IP addresses to the clients’ MAC addresses, and once an IP address is assigned, it cannot be offered to another client again.
The essence of the DHCP Starvation attack is to “exhaust” the DHCP server by sending fake DHCPDISCOVER packets with random source MAC addresses. The server will respond to these packets and reserve available IP addresses from the pool. As a result, for a certain period (while the attack is active), the server will be unable to issue IP addresses to legitimate users.
This attack exploits the DHCP server’s inability to validate whether the request is coming from a legitimate client, thereby causing the server to “run out” of available IP addresses, effectively blocking new clients from obtaining an IP.
We will use Yersinia as the attack tool (the tool is named after a bacterium). In addition to DHCP, it can also attack several other data link layer protocols.
We will choose the DHCP protocol, specify the option to send a DISCOVER packet, and start sending fake DHCPDISCOVER packets.


While the packet flood is ongoing, let’s take a look at the DHCP address pool

Absolutely all the addresses in the range 192.168.1.2–254 have been reserved by the DHCP server, and as long as the flooding continues, the server will not be able to assign addresses from its pool to new clients. The server is exhausted.
By the way, such a flood could easily lead to a denial of service for the DHCP server. Let’s check the load on the router:

The processor is half-loaded. And this is just from the DHCPDISCOVER packets (well, also STP and CDP every couple of seconds).
Rogue DHCP or DHCP Spoofing
The second attack vector on DHCP requires deploying a rogue DHCP server. This is necessary to provide clients with fake network parameters (specifically, the default gateway address) and perform a Man-in-the-Middle (MitM) attack. From the attacker’s perspective, the best first step is to “take down” the legitimate DHCP server, which, as shown above, we’ve already done.
In Yersinia, there is a function to deploy such a rogue DHCP server — creating DHCP rogue server. The parameters to configure include the address of the fake server that will issue network parameters, the range of IP addresses, the lease duration (the longer, the better), the subnet mask, and most importantly — the default gateway address, which will be the PC that will sniff the users’ traffic.

All that’s left is to set the network interface of the listening PC to forwarding mode, and then it’s a matter of technique: client devices configured to automatically obtain IP addresses will send DHCPDISCOVER broadcast messages and will receive network parameters from the rogue DHCP server in response.

Here’s how the ICMP traffic dump looks on the attacking machine, along with the Man-in-the-Middle (MitM) attack diagram in our lab network.

NEUTRALIZING ATTACKS ON THE DHCP PROTOCOL
Now, let’s look at security technologies that prevent attacks on DHCP. These can be broadly divided into two vectors: protection against DHCP Starvation and protection against DHCP Spoofing.

In most cases, the mitigation of attacks on the DHCP protocol is handled by DHCP Snooping, and as an essential complement, Port Security should also be used. Both technologies are implemented on switches.
Trusted and Untrusted Ports
To prevent the sudden appearance of a rogue DHCP server in the network, we use the concept of trusted and untrusted ports. A trusted port allows DHCP messages from the server to be forwarded. Remember the DHCPOFFER, DHCPACK, and DHCPNAK messages we discussed at the beginning? A rogue DHCP server won’t be able to offer fake parameters to clients by sending these messages if it is located behind an untrusted port.
Trusted ports are those directly connected to the DHCP server or those “looking” towards it. Conversely, untrusted ports are all the other ports. In our lab network, the only trusted port will be G0/1.

After enabling DHCP Snooping, all ports are set to untrusted by default. Therefore, you need to explicitly specify a trusted port to the switch. But before doing that, we will globally enable DHCP Snooping and specify the VLAN in which it will operate. My switch configuration is set to default, and all ports belong to VLAN 1.

As a test, we will turn off our DHCP server, release the IP address it assigned, and try to obtain an IP address from a rogue DHCP server. Here’s what happens on the attacking machine: the rogue DHCP server sees the client’s discovery messages and eagerly tries to offer its fake network parameters, but the client does not respond to these replies in any way.

And this happens because the switch drops DHCPOFFER messages on the untrusted port, preventing the client from seeing the fake offer.

Limit Rate
Another highly useful feature of DHCP Snooping is the ability to limit the rate of DHCP messages. This feature allows you to set a specific number of DHCP packets per second that can pass through a switch port.
To enable this functionality, we will select the entire range of untrusted ports and set a limit of 10 packets per second. Cisco recommends a limit of no more than 100 packets per second, but for our test setup, 10 will suffice. It’s important to ensure that legitimate client traffic is not unnecessarily restricted.

Time for another experiment: let’s initiate a DoS flood of DHCPDISCOVER messages and observe what happens. We don’t have to wait long — a console log promptly appears, notifying us that ten DHCP packets were received on port F0/2, and the port is now in an err-disable state. Port F0/2 has been shut down. From this point, administrative intervention is required to restore the port’s functionality.

The Limit Rate feature is useful because it prevents an attacker from causing a denial-of-service attack or quickly exhausting the address pool by sending a large number of DHCP requests.
Verify MAC-Address
The MAC address verification feature is enabled by default when DHCP Snooping is active. However, if it is disabled for any reason, here is the syntax to enable it.

Previously, I emphasized the CHADDR field in the DHCP header and the source MAC address in the Ethernet header, noting that during normal client-server interaction, the values in these fields are identical. When the Verify MAC-Address feature is enabled, the switch compares these two fields, and if the MAC addresses differ, the packet is dropped.
By the way, checking the MAC address uses the router’s CPU resources, which, of course, is much slower than processing packets with ASIC chips. Under normal network operation, this doesn’t have a noticeable impact. However, let’s model a situation: a DHCP exhaustion attack is launched, generating a massive number of DHCPDISCOVER packets. Each of these packets will be checked by the switch’s CPU for MAC address consistency.

Within a minute of the attack starting, the switch’s central processor was loaded to 95% due to the enormous number of DHCP packets it had to process. This is exactly why the Limit Rate feature is important — the port will simply go down when the allowed number of packets per second is exceeded, preventing the CPU from being overwhelmed.
Port Security
The last switch security feature I want to discuss. It is not directly related to DHCP Snooping, but it plays an important role in protecting the network from DHCP protocol attacks. Port Security allows you to specify the MAC addresses of hosts that are allowed to send data through a port. The source MAC address in the Ethernet header is used for verification, and based on this, a decision is made whether to allow traffic through the port.
We will configure all untrusted ports to dynamically learn only one MAC address, saving it in the current switch configuration. The violation mode will be set to shutdown — to disable the port if a security rule is violated. However, before this, the ports need to be switched to Access mode.

If we start flooding DHCPDISCOVER messages again, where the source MAC address in each Ethernet frame is unique, the port will instantly go into err-disable mode (just like with Limit Rate), as the rule we set — to remember only one allowed MAC address per port — will be violated.

You can view the table maintained by the switch, which shows the mapping of learned MAC addresses on each interface.

Exhausting a DHCP server by changing the MAC address of the network interface is not difficult for an attacker. Yes, it may take some time, but it can be effective. However, with port security enabled on the switch, such a tactic is doomed to fail.
CONCLUSIONS
It may seem that DHCP attacks are not as relevant today. However, in my opinion, any attack remains a threat when network security is not properly addressed, especially when network equipment operates with default settings.
The security technologies described in the article, when applied individually, do not create an impenetrable barrier for an attacker. Therefore, it is their combined implementation that provides adequate protection for DHCP.