Table of Contents
I’m sure many readers have long since abandoned desktop computers and now use laptops as their primary tool for work, study, and everything else. The world has shifted, becoming mobile. However, with mobile technology comes the risk of losing it, forgetting it, or being robbed. So, how can you protect your data, keep it safe from prying eyes, and even recover a stolen device? Let’s try to figure it out.
Physical Access
Let’s start, as usual, with the basics, specifically the login password. It seems simple: every graphical environment has a built-in screen locker that requires you to enter a password after a few minutes of inactivity. But what if you’re not using a graphical environment and prefer a lightweight window manager like Fluxbox or i3?
There are many different screen lockers, but I would recommend using slock. It’s a very simple locker with no graphical user interface elements, no input fields, and no session switchers. All it does is turn the screen black. When you enter the password, the screen turns blue, and if the password is incorrect, it turns red after pressing Enter. Seeing this, most “hackers” will freeze and think the computer has crashed.
You can run slock either directly (which will immediately lock the screen) or automatically after the laptop wakes up. In the second case, you will need a systemd unit with the following content:
[Unit]
Description=Lock X session using slock for user %i
Before=sleep.target

[Service]
User=%i
Environment=DISPLAY=:0
ExecStartPre=/usr/bin/xset dpms force suspend
ExecStart=/usr/bin/slock

[Install]
WantedBy=sleep.target
Save it to the file /etc/systemd/system/slock@.service and activate the unit (USER — your username on the system):
$ sudo systemctl enable slock@USER.serviceAnother very simple, but no less valuable recommendation — set a password for the BIOS and disable booting from any devices other than the hard drive. This will protect you from those who might try to boot from a USB drive to read your disk from another operating system.
Many laptops also allow you to set a password for booting, rebooting, and accessing the hard drive. The latter works at the ATA controller level, and it will help if someone manages to boot their own operating system, but it will be useless against physically removing the hard drive.
Disk Encryption
Almost all popular distributions allow you to encrypt the hard drive during the installation of the operating system. Such encryption makes extracting data from the disk almost impossible (with a sufficiently long password), but it has one significant drawback: a drop in I/O performance, which can reach hundreds or even thousands of percent.
You can minimize the performance loss by encrypting only the /home partition (where your data is stored), leaving the system itself unencrypted. In fact, many distributions offer this option by default, but it is also not ideal: the laptop will consume additional resources just to watch a movie saved to the disk, and if you’re involved in software development or often compile software from source, be prepared for a significant slowdown.
But there is a solution to this situation. The EncFS and CryFS systems use the FUSE mechanism to create an encrypted virtual file system on top of the main one. With them, you can encrypt any specific directory without the need to allocate a special container of a predefined size, and you can even sync the directory with Dropbox and other similar services.
Both file systems use the AES-256 algorithm in GCM mode, but they differ in implementation. EncFS encrypts each file separately, so it only hides the content of the files and their names, but does not prevent someone from obtaining information about the directory structure and file sizes. In other words, if someone needs to prove that you’re storing a child pornography archive downloaded from the darknet, they can do so.
CryFS protects against such risks. A directory encrypted with it looks like a flat file tree with a bunch of directories and files of the same size. However, CryFS has never undergone an independent audit, unlike EncFS. If this concerns you, use EncFS. If you don’t trust either, you can opt for VeraCrypt or another “classic” encryption tool that uses a container of a predefined size, which cannot be uploaded to Dropbox without synchronizing all the encrypted data with even the slightest change.
Using EncFS and CryFS is extremely simple. Just install the package, and then perform the mounting operation:
$ cryfs ~/Dropbox/box ~/cryptoIn this case, we are mounting the encrypted directory ~/Dropbox/box as ~/crypto. All files written to the latter will appear in the former in an encrypted form.
You can store all valuable data in this directory: passport scans, GPG keys, cryptocurrency wallet working directories, password databases, and so on. You will need to mount it manually after each boot, and it’s best to unmount it immediately after use:
$ fusermount -u ~/crypto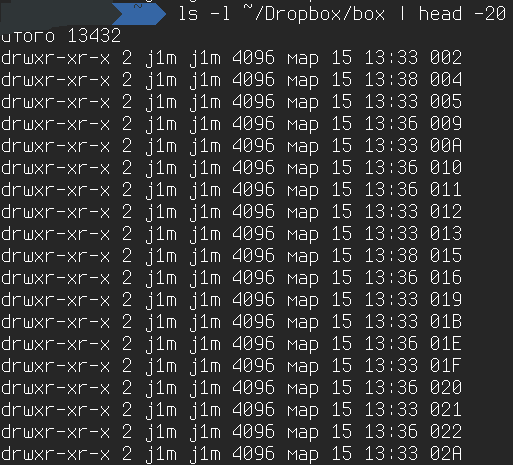
The contents of a directory encrypted with CryFS.
Passwordless Authentication
So, the disk is protected, the password is set, but is it convenient? Entering the password at boot, which on modern laptops doesn’t happen very often, is not difficult. Entering the password for data decryption at boot is also manageable, but entering it every time to unlock the screen is not particularly interesting. Especially since your neighbors on the plane could peek at it. A different method is needed, or even better, a combination of methods.
USB Flash Drive
I think everyone has heard of something called YubiKey. It’s a USB key that serves as a second factor for authentication on websites and in the system. Such a key costs $50, but in reality, you can use a regular USB flash drive instead.
The pam_usb module allows you to set up authentication using any USB flash drive. Here’s how it works: the utility writes 2 KB of random data to the flash drive, which serves as a unique key. During authentication, pam_usb reads the data block from the flash drive, compares it with the data stored on the computer, and grants access to the system if they match.
To get all of this working, follow these steps. First, install pam_usb:
$ git clone https://github.com/aluzzardi/pam_usb.git
$ cd pam_usb
$ make
$ sudo make installIn Arch Linux, pam_usb is available in the AUR:
$ yaourt -S pam_usbAdd the random data to the flash drive (here, AuthKey is an arbitrary name):
$ sudo pamusb-conf --add-device AuthKeySpecify the user who will authenticate using the flash drive:
$ sudo pamusb-conf --add-user username Check that everything is set up correctly:
$ sudo pamusb-check username Finally, add pam_usb to the list of PAM modules. To do this, open the file /etc/pam.d/common-auth (or /etc/pam.d/system-auth in Arch Linux and Fedora) and add the following line at the beginning of the file:
auth sufficient pam_usb.so In this case, the flash drive will be sufficient for authentication. However, if you want two-factor authentication, where both the flash drive and the password are required, change the line to this:
auth required pam_usb.soKeep in mind that the author of pam_usb does not position their development as something you can trust with protecting state secrets or, even more so, your family’s onion soup recipe. A dump can be taken from the flash drive, written to another flash drive, and used for authentication.
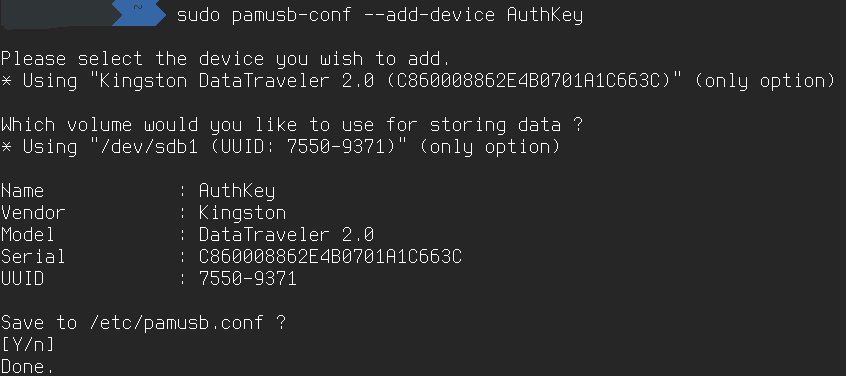
Configuring pam_usb
Smartphone
Instead of a flash drive (or in addition to it), you can use a smartphone. I’m sure you’ve used the Google Authenticator app at least once in your life. It implements the TOTP (Time-based One-Time Password, RFC 6238) algorithm, which allows authentication in one app using a one-time password generated by another app.
Google allows the Authenticator app to be adapted for authentication in its own services. However, in reality, it is not tied to Google and does not use its servers (the key needed for generating one-time passwords is transmitted directly via QR code, after which the app operates independently), which allows us to use it for authentication in the system without the fear of password leaks.
To do this, you need to install the PAM module pam-google-authenticator:
$ ./bootstrap.sh
$ ./configure
$ make
$ sudo make installIn Arch Linux, the installation is done as follows:
$ yaourt -S google-authenticator-libpam-gitNext, run the google-authenticator application:
$ google-authenticatorIt will generate a QR code (or provide a link to it) that you need to scan using the Google Authenticator app on your smartphone, and will also ask a few questions. For all questions except the fourth one (increasing the time discrepancy between the client and the server), answer negatively.
Then, just like with the flash drive, add the following line to /etc/pam.d/common-auth:
auth required pam_google_authenticator.so no_increment_hotpOne-time passwords can easily be combined with the need to insert a flash drive in various configurations. To do this, simply set the second option to the desired value.
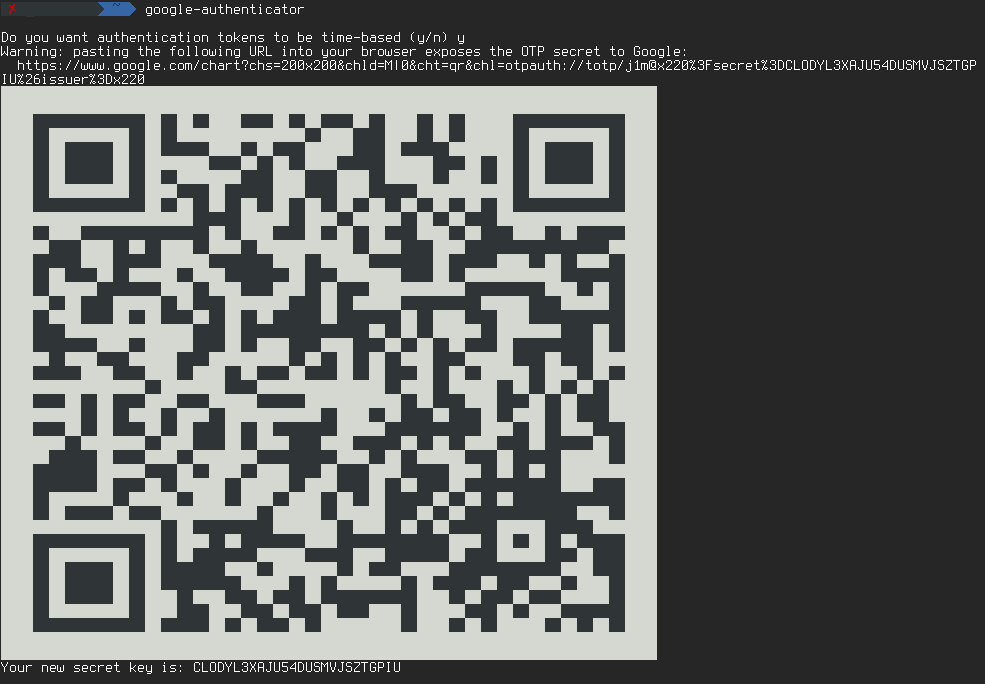
QR code pam-google-authenticator
Anti-theft solution
With passwords, one-time codes, and encryption, we can only protect the data on a laptop. To protect the laptop itself, completely different tools are needed, specifically a tracking system, similar to the “Find my iPhone” feature. This system would allow us to remotely connect to the laptop, determine its coordinates, take a screenshot, and capture an image using the front camera.
One of the best solutions in this field is called Prey. It’s available for phones and computers running Windows, macOS, and Linux. We are interested in the Linux version, so go to the download page, download the deb package, and install it.
$ sudo dpkg -i prey_1.7.3_amd64.debIn Arch Linux, Prey is available in the AUR:
$ yaourt -S prey-node-clientJust keep in mind that it will be installed in the system under the name prey_project.
Once the installation is complete, run the configurator:
$ sudo prey config account setupIt will ask for your email address, request a password, and then the installation will be complete. To check that everything is working, go to the web control panel and enjoy the ability to track your device in real-time.
The free version of Prey allows you to find the device’s location, view information about the OS and hardware, activate an alarm, lock the device, take camera snapshots, or capture screenshots. To be able to remotely delete data and download files, you’ll need to pay five dollars per month.
Also, keep in mind that, unlike smartphones, which are always connected to mobile networks by default and thus always online, laptops are often offline and usually connect to open Wi-Fi networks only after the user grants permission. In other words, the chances of locating a laptop are much lower than finding a phone.
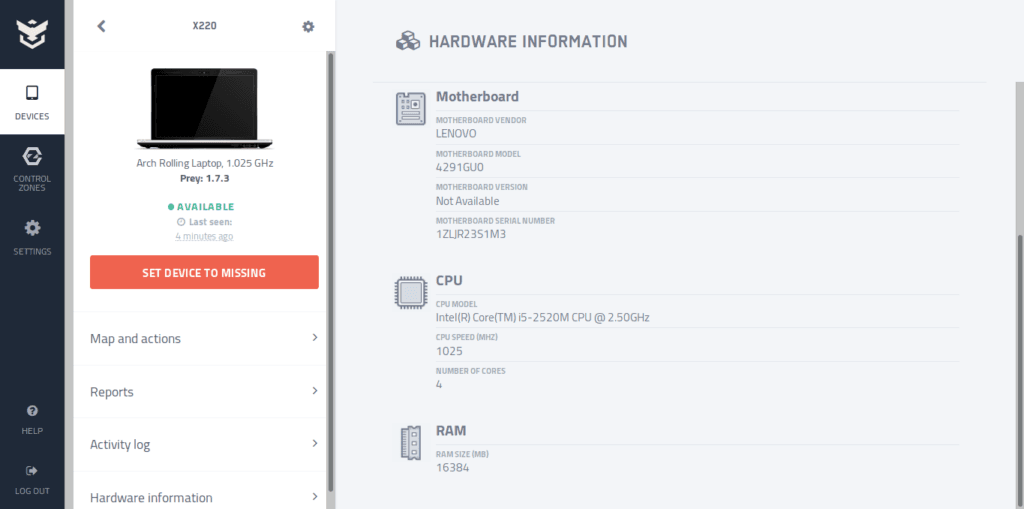
Information about the laptop in the Prey control panel.
Photo on Wake-up from Sleep
Another method to deal with unwanted guests is to take their photo. For example, you leave your laptop in a room, an unknown person enters, wakes the laptop from sleep, and tries to log in (or rather, tries to figure out what’s going on, since we’re using slock). It’s the perfect time to snap a photo.
First, let’s write a simple script that will take a photo using the laptop’s camera. It will be very simple:
#!/bin/sh
ffmpeg -y -t 1 -f video4linux2 -s 640x480 -r 30 -i /dev/video0 -f image2 $HOME/webcam.png Name it take_photo, place it in the ~/bin directory, and grant execute permissions:
$ chmod +x ~/bin/take_photoNow we need to write a script that will run our script after the computer wakes up. Here it is:
#!/bin/sh
if [ $1 = post ] && [ $2 = suspend ]; then
    sudo -u ТВОЕ_ИМЯ_В_СИСТЕМЕ /home/ТВОЕ_ИМЯ_В_СИСТЕМЕ/bin/take_photo
fiName it 00take_photo, place it in the /lib/systemd/system-sleep/ directory, and give it execution permissions in the same way:
$ chmod +x /lib/systemd/system-sleep/00take_photoNow, every time the laptop wakes up, it will take a photo and save it to the ~/webcam.png file. But we can go even further and send the photo to ourselves on Telegram. To do this, install telegram-cli. The easiest way to do this is in Arch Linux:
$ yaourt -S telegram-cli-gitLaunch the utility with the command telegram-cli, it will ask for your phone number (phone number:) in the format +71132367440, then the security code from the SMS, and the password if it’s used.
Then, we’ll slightly modify our script ~/bin/take_photo:
#!/bin/bash
ffmpeg -y -t 1 -f video4linux2 -s 640x480 -r 30 -i /dev/video0 -f image2 $HOME/webcam-`date`.png
sleep 60
telegram-cli -W -D -e "send_photo @ТВОЕ_ИМЯ_В_ТЕЛЕГРАМЕ $HOME/webcam.png `date`"Now, it will not only take a photo but also send it to our Telegram. The sleep 60 command adds a one-minute delay before sending, so the laptop has time to connect to the Wi-Fi.
Conclusions
Protecting a laptop is not as simple as protecting smartphones, which use full disk encryption with hardware acceleration via TEE modules, fingerprint protection, and can be tracked over all types of networks. However, by applying the simple methods described in this article, you’ll at least be able to say that you did everything possible.